How to Check the Oil Level in Your Car: Step-by-Step Guide
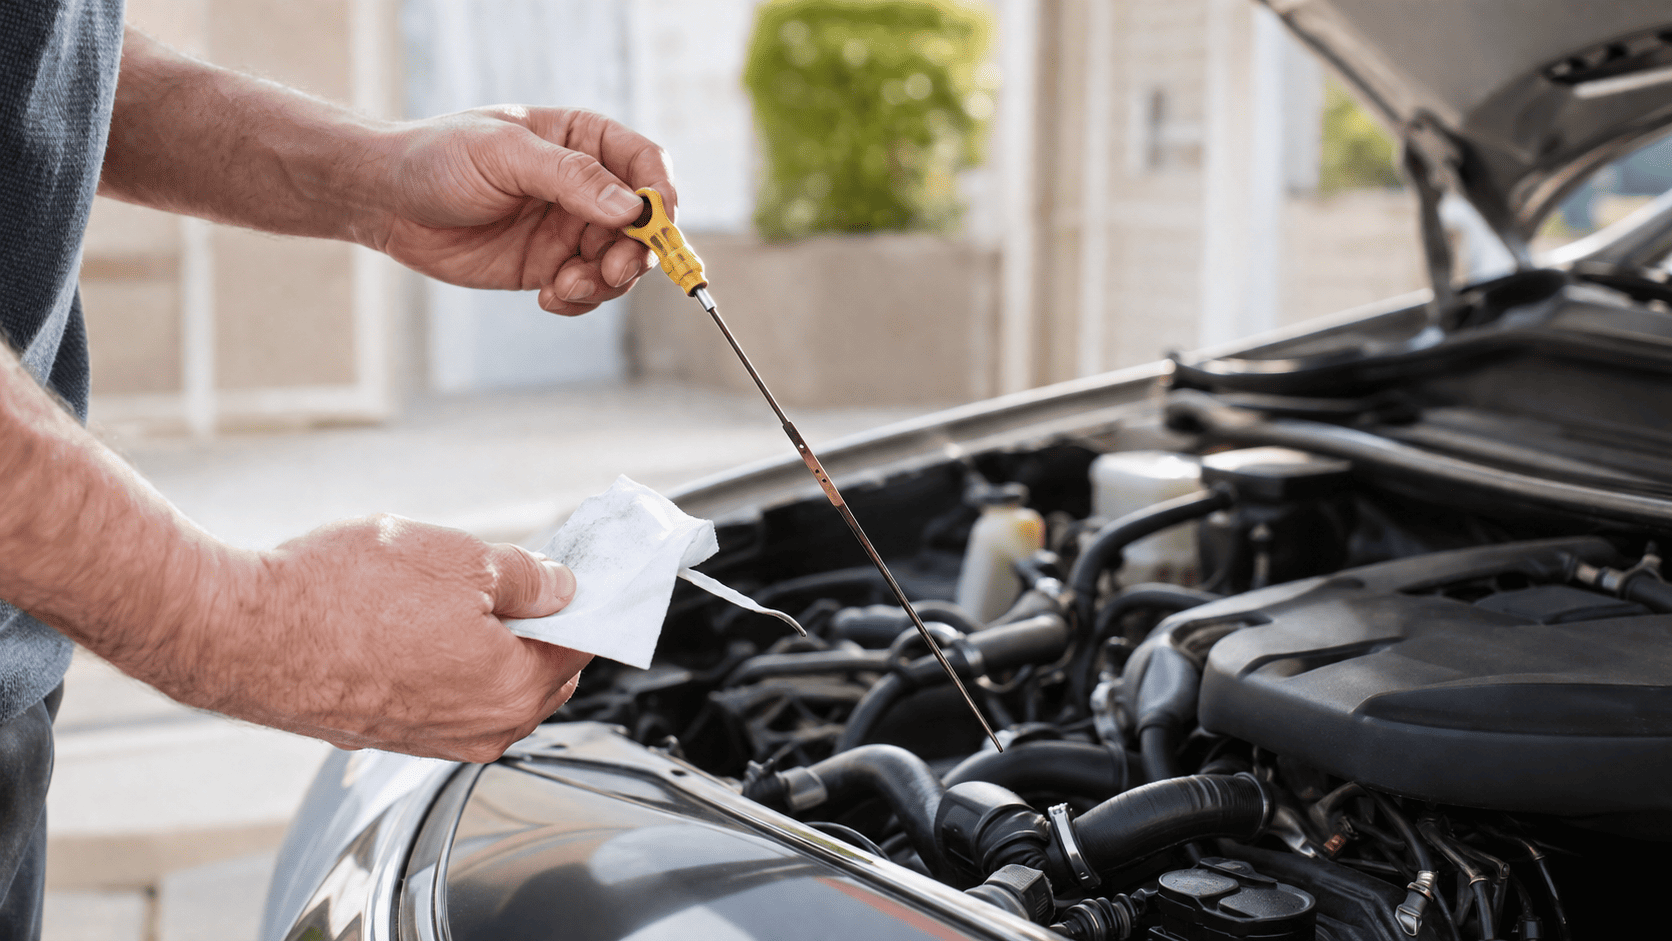
You’re about to leave for a road trip, or maybe someone just told you your car “drinks oil” and now you’re paranoid. Either way, you pop the hood, stare at the engine, and think: wait, how do I actually check the oil level in my car? Good news — it takes less than five minutes, needs zero mechanical experience, and can save you from a repair bill with way more zeros than you’d like. Here’s exactly how to check the oil level in your car, step by step.
Table of Contents
Why Checking Your Oil Level Regularly Matters
Engine oil does more than lubricate. It reduces friction between moving parts, carries heat away from the engine, and keeps debris suspended so it doesn’t scratch anything on its way to the oil filter. Take that away, even partially, and things heat up fast.
When your oil level runs low, moving parts grind against each other with less of a protective film between them. That extra friction generates heat, and heat is what warps components, wears down bearings, and — in the worst case — seizes an engine completely. AAA notes that a low oil level can cause damage your new-car warranty won’t cover — a pretty expensive reason to build a two-minute habit.
Here’s the part a lot of drivers miss: modern engines go longer between oil changes than they used to, thanks to synthetic oil. Great for your wallet, but it also means your oil sits in the engine longer, so a slow leak or a bit of oil consumption has more time to become a real problem before your next scheduled change. Checking the level yourself is the simplest way to catch it early.
What You’ll Need Before You Start
You don’t need a toolbox for this one. Here’s what to have on hand before you check the oil level in your car:
- A clean rag or paper towel (lint-free, if you have one)
- Your owner’s manual, so you know your dipstick’s exact location and correct oil type
- A flat, level parking spot
- The correct oil for your engine, in case a top-up is needed
- A funnel, to avoid spilling oil down the side of the engine
- Gloves, if you’d rather keep your hands clean (optional, but your hands will thank you)
That’s genuinely it. No jack, no ramps, no special tools.
How to Check Your Oil Level in 6 Easy Steps
Once you’ve got your rag and a few minutes to spare, here’s exactly how to check the oil level in your car, broken into six simple steps.
Step 1: Park on Level Ground and Let the Engine Rest
Find a flat spot to park — a slope throws off the reading, even if it looks level to the eye. If you’ve just been driving, turn off the engine and give it 5 to 10 minutes before you check. That waiting period lets the oil drain back down into the oil pan, so your reading reflects how much oil is actually in the engine rather than how much is still circulating through it.
Step 2: Open the Hood and Locate the Dipstick
Pop the hood using the release lever (usually under the dashboard, driver’s side) and prop it open. Look for a loop handle, usually bright yellow or orange, marked with a little oil can symbol — that’s your dipstick. If you don’t spot it right away, your owner’s manual will show you exactly where it sits, since some engines tuck it away more than others.
Step 3: Pull It Out and Wipe It Clean
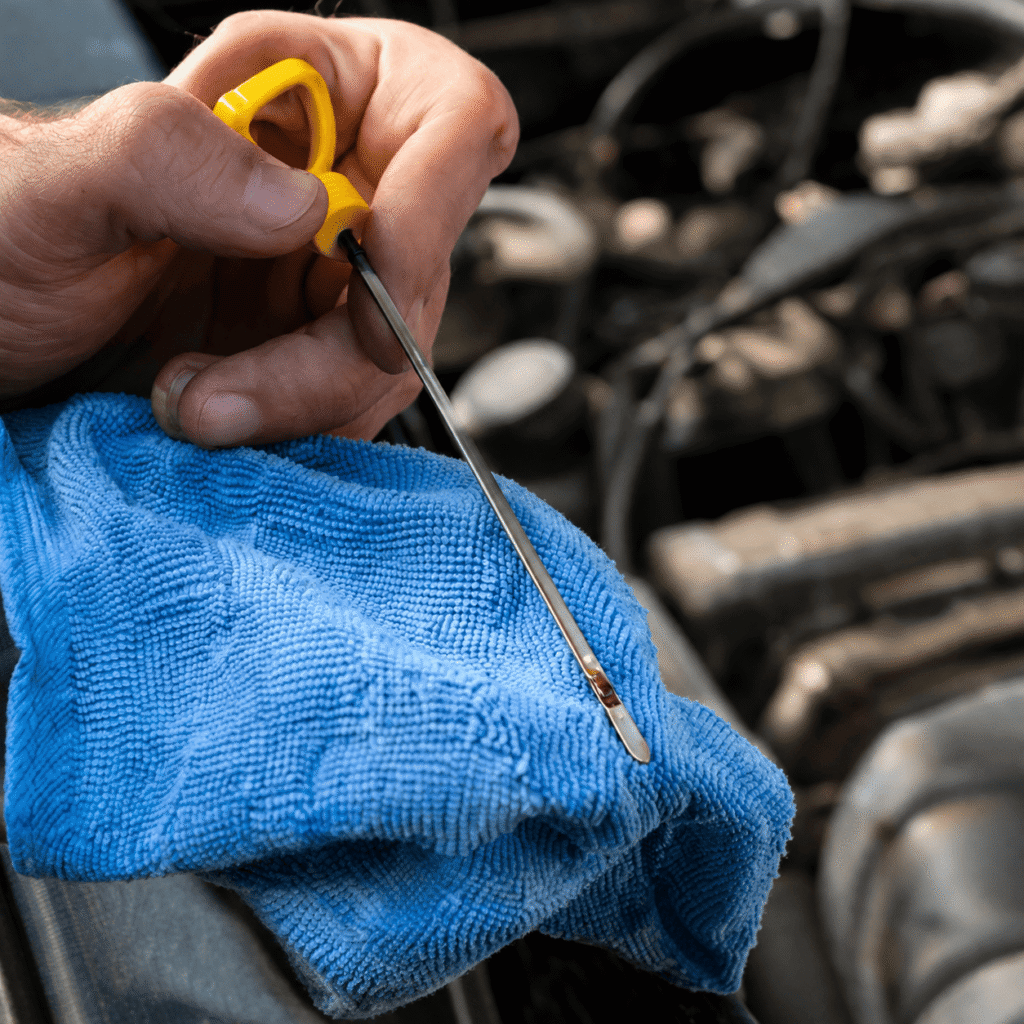
Pull the dipstick all the way out and wipe it down with your rag, from base to tip, until it’s completely clean. This first pull doesn’t count for your reading — it’s just there to remove old oil residue so the next pull gives you an accurate number.
Step 4: Reinsert the Dipstick, Then Pull It Out Again
Slide the dipstick back into its tube all the way, until it’s fully seated. Then pull it straight back out — no twisting — and hold it level. This second pull is the one that actually shows your real oil level.
Step 5: Read the Oil Level Markings
Look at the tip of the dipstick for two marks, dots, or a crosshatched section — that’s your MIN and MAX range. Oil should sit somewhere between the two, ideally toward the upper half. If it’s at or below the lower mark, it’s time to top up.
Step 6: Check the Oil’s Color and Texture
While you’re down there, don’t just glance at the level — look at the oil itself. Rub a little between your fingers and check the color against your rag; healthy oil should feel smooth, never gritty. Here’s a quick reference for what different colors typically mean:
| Oil Color | What It Likely Means | What To Do |
|---|---|---|
| Amber or golden | Fresh, clean oil | Nothing — you’re in good shape |
| Light to medium brown | Normal aging; the oil is trapping debris as designed | Keep an eye on it, follow your regular schedule |
| Dark brown or black | Oil is old and losing its protective ability | Schedule an oil change soon |
| Milky or frothy | Coolant has likely mixed into the oil, often a head gasket issue | Stop driving and get it inspected — this isn’t a top-off situation |
| Gritty or has metal flecks | Engine wear particles present in the oil | Get it checked by a mechanic soon |
One quick caveat: if you check right after a long, hot drive, oil can look darker than it really is. If the color ever surprises you, check again once the engine’s had a proper chance to cool.
Should You Check the Oil Hot or Cold?
Here’s the honestly anticlimactic answer: it doesn’t matter that much, as long as you’re consistent. Cold oil contracts slightly and hot oil expands, so switching between the two methods can make your readings jump around even when nothing’s actually wrong.
Checking first thing in the morning, before you’ve started the car, is the easiest option — all the oil has had all night to settle back into the pan, so you get a full, reliable reading every time. If you’d rather check when the engine’s warm, that works too, and many manufacturers actually recalibrate their dipsticks for a warm reading. Just shut the engine off and wait 5 to 10 minutes first. What you shouldn’t do is check immediately after driving or while the engine is running — the oil’s still circulating, and you’ll get a falsely low number.
How Often Should You Check Your Car’s Oil?
Most experts land on the same answer: about once a month. If you want a simpler trigger, tie it to something you already do — check it every few gas fill-ups, or before any road trip longer than a couple of hours.
Drive an older car, one that’s known to burn a little oil, or do a lot of stop-and-go city driving or towing? Check more often than that — those conditions all put extra stress on your oil.
It’s worth noting that modern synthetic oils have pushed change intervals way out — Castrol notes some manufacturers now allow 15,000, even 20,000+ miles between changes with the right synthetic. That’s a win for your wallet, but it also means the level check in between matters more than it used to, since there’s a longer stretch of time for a leak or oil consumption issue to develop unnoticed.
What to Do If the Oil Level Is Low
If your reading comes in below the minimum mark, don’t panic — just don’t ignore it either. Using a funnel, add oil in small amounts, about half a quart at a time, then wait a couple of minutes and recheck with the dipstick. Repeat until the level sits comfortably between the two marks.
Most engines only need about a quart total to go from the minimum mark to the maximum, though it varies by vehicle, so add slowly rather than dumping in a full quart at once — overfilling causes its own problems. Always use the oil type listed in your owner’s manual or printed on the oil cap; the wrong viscosity can affect how well your engine is protected.
If you find yourself topping up between every single oil change, that’s not normal wear — it’s worth having a mechanic check for a leak or a burning-oil issue before it turns into a bigger repair.
How to Check Oil in Cars Without a Dipstick
If you popped the hood and found no dipstick at all, you’re not losing your mind — a growing number of cars simply don’t have one anymore. Mercedes-Benz, BMW, Audi, and Porsche have moved several models to fully electronic oil monitoring, and some Ram trucks with the newer Hurricane engine have followed suit.
Instead of a dipstick, these cars use an electronic sensor sitting in the oil pan that reads the level and sends that data to your dashboard or infotainment screen. To check it, look for a “Vehicle Status” or “Service” menu — your owner’s manual will point you to the exact steps, since the process varies by brand.
One mix-up worth avoiding: oil level and “oil life” are not the same thing. Oil life percentage estimates how worn out your oil is based on mileage and driving conditions, and tells you when to schedule a change — it says nothing about whether your engine currently has enough oil in it. A car can show 60% oil life remaining and still be dangerously low on actual oil. If your dashboard ever flags a low-oil warning, take it seriously regardless of what the oil-life percentage says.
Warning Signs You Shouldn’t Ignore
Beyond the dipstick, your car usually tries to warn you when something’s wrong. Watch for:
- The oil pressure warning light on your dashboard — pull over and check your oil as soon as it’s safe to do so
- A ticking or knocking sound from the engine, especially right after startup
- Blue-tinted exhaust smoke, a sign oil is burning
- Oil spots or puddles under the car after it’s been parked
- A burning oil smell, particularly right after driving
If your car won’t even turn over — no oil light, just silence or a weak click — you’re probably looking at a battery issue instead. We’ve got you covered there too, in our guide to how to jump-start a car.
Frequently Asked Questions
Can I check the oil right after driving?
It’s better to wait. Right after driving, a good portion of your oil is still circulating through the engine rather than sitting in the pan, so your dipstick reading will look lower than it really is. Give it 5 to 10 minutes after shutting off the engine, or check cold before you start driving for the most reliable read.
Should the oil level be closer to the MIN or MAX line?
Closer to MAX is generally better, as long as you don’t go over it. Running near the top of the range gives your engine a bit more buffer before you dip below the minimum safe level between checks. Just avoid overfilling — too much oil can cause its own issues, like foaming or leaks.
What does milky or foamy oil mean?
It usually means coolant has mixed into your engine oil, most often because of a failing head gasket. This isn’t something to top off and forget — it’s a sign of a real mechanical problem that needs a mechanic’s attention soon, especially if you’re also noticing white exhaust smoke or a hot-running engine.
How much oil should I add if the level is low?
Add it in half-quart increments, waiting a few minutes and rechecking the dipstick between each pour. Most vehicles only need about a quart total to go from the minimum to the maximum mark, but engine sizes vary, so let the dipstick — not a fixed number — be your guide.
Can I keep driving with low engine oil?
You can drive short distances if the level’s only slightly low, but it’s not something to make a habit of — low oil means more friction and heat than your engine is built to handle. A low-oil or oil-pressure warning light is a different situation: stop and shut off the engine as soon as it’s safe, rather than continuing to drive.
Key Takeaways
- Check your oil level about once a month, or before any longer road trip
- Whichever temperature you choose to check at, hot or cold, stick with it every time
- Look past the level — oil color and texture tell you just as much
- Add oil gradually, about half a quart at a time, and don’t overshoot the MAX line
- No dipstick? Check your dashboard’s Vehicle Status or Service menu instead
- A low-oil warning light means stop and check now, not “later”
Five minutes with a rag and a dipstick is a small habit that keeps a very expensive machine running the way it’s supposed to. Add it to your monthly routine, and your engine — and your wallet — will thank you.